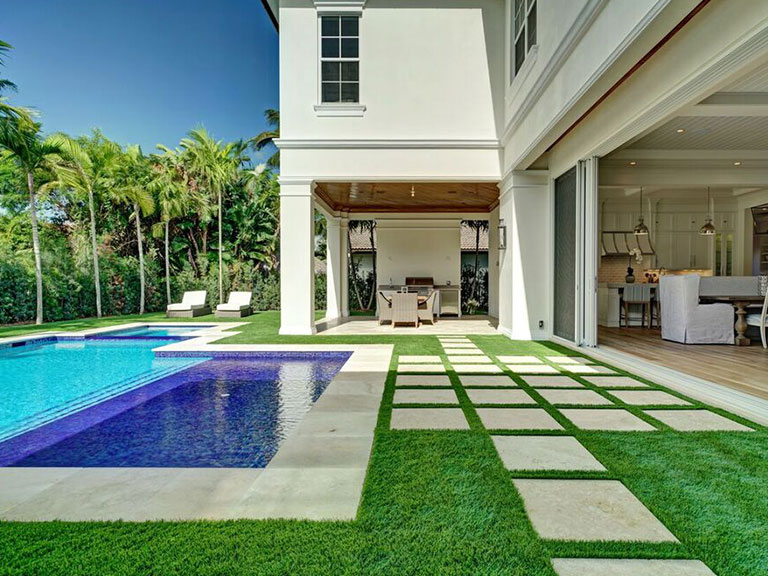
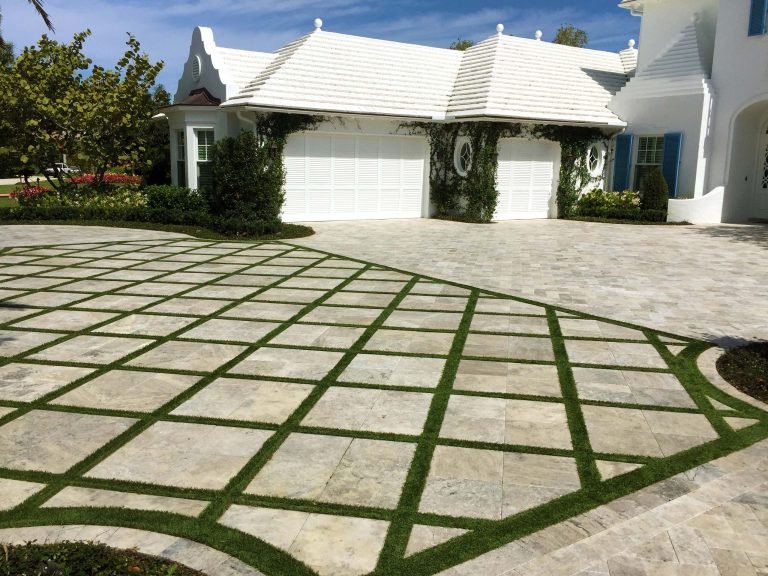
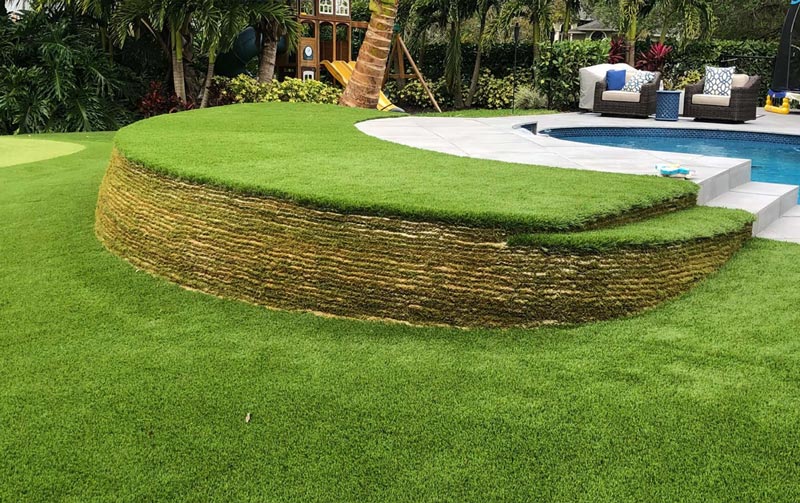
An impeccable green lawn that remains green throughout the year sounds perfect. It can be made possible with the installation of artificial turf. You are either renovating your home backyard or creating a commercial outdoor area, and to have a professional outcome, the process of turf installation should be achieved.
This installation guide shows you the process of artificial turf synthetic grass installation and the things you should learn before beginning.
Table of Contents
Why choose Turf Installation?
Conservation lawns require mowing, watering, and constant maintenance. You will save time, save money, and have a perfect lawn throughout the seasons with a switch to turf. The low-maintenance is appreciated by the homeowners, as the professional, consistent appearance is appreciated by the businesses.
The benefits of installing artificial turf are not limited to the aesthetic categories; it is a long-term investment in durability, water savings, and money savings.
Step 1: Planning and Measuring
Planning is the key to every successful turf installation. Be very careful in measuring the areas to estimate the amount of material that you would need. Consider the way the space will be utilized:
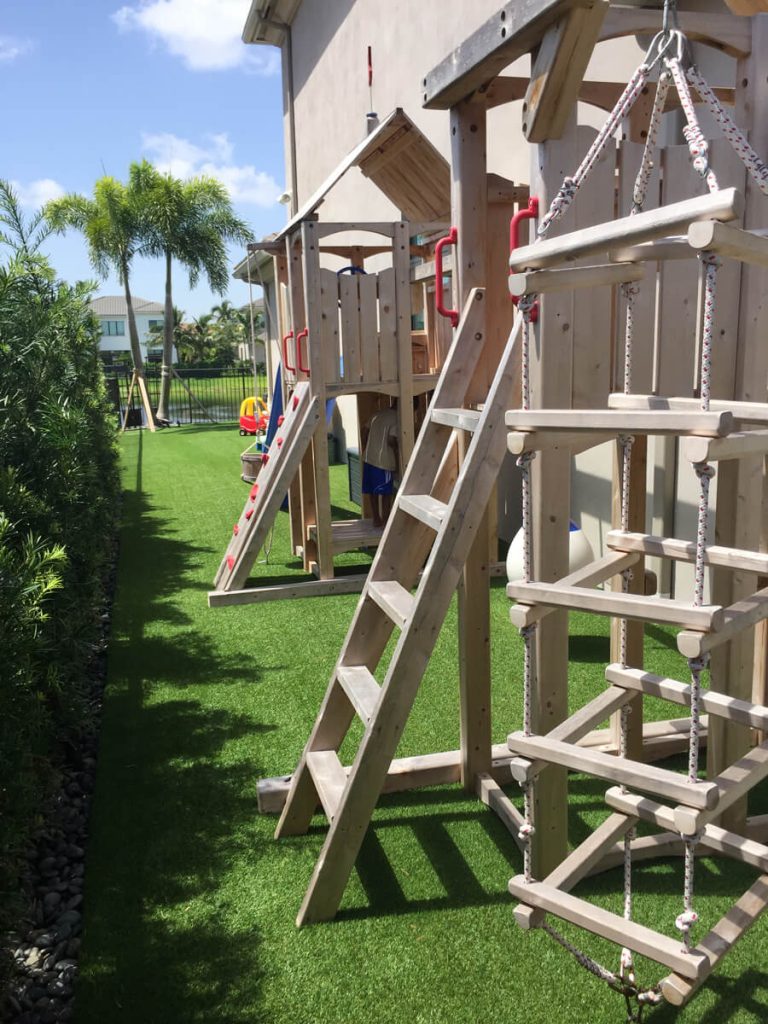
- A backyard for kids and pets may require extra padding
- A commercial space might need durable infill for heavy foot traffic
Planning ahead helps avoid surprises and ensures the turf installation process goes smoothly.
Step 2: Preparing the Base
Before any turf can be laid, the ground must be prepared. This is one of the most critical steps in the installation of artificial turf synthetic grass.
The preparation includes:
- Removing existing grass, rocks, and debris
- Installing proper drainage to prevent water buildup
- Adding a compacted base layer of crushed stone or gravel
A solid base ensures your turf looks natural and lasts for years.
Step 3: Laying the Turf
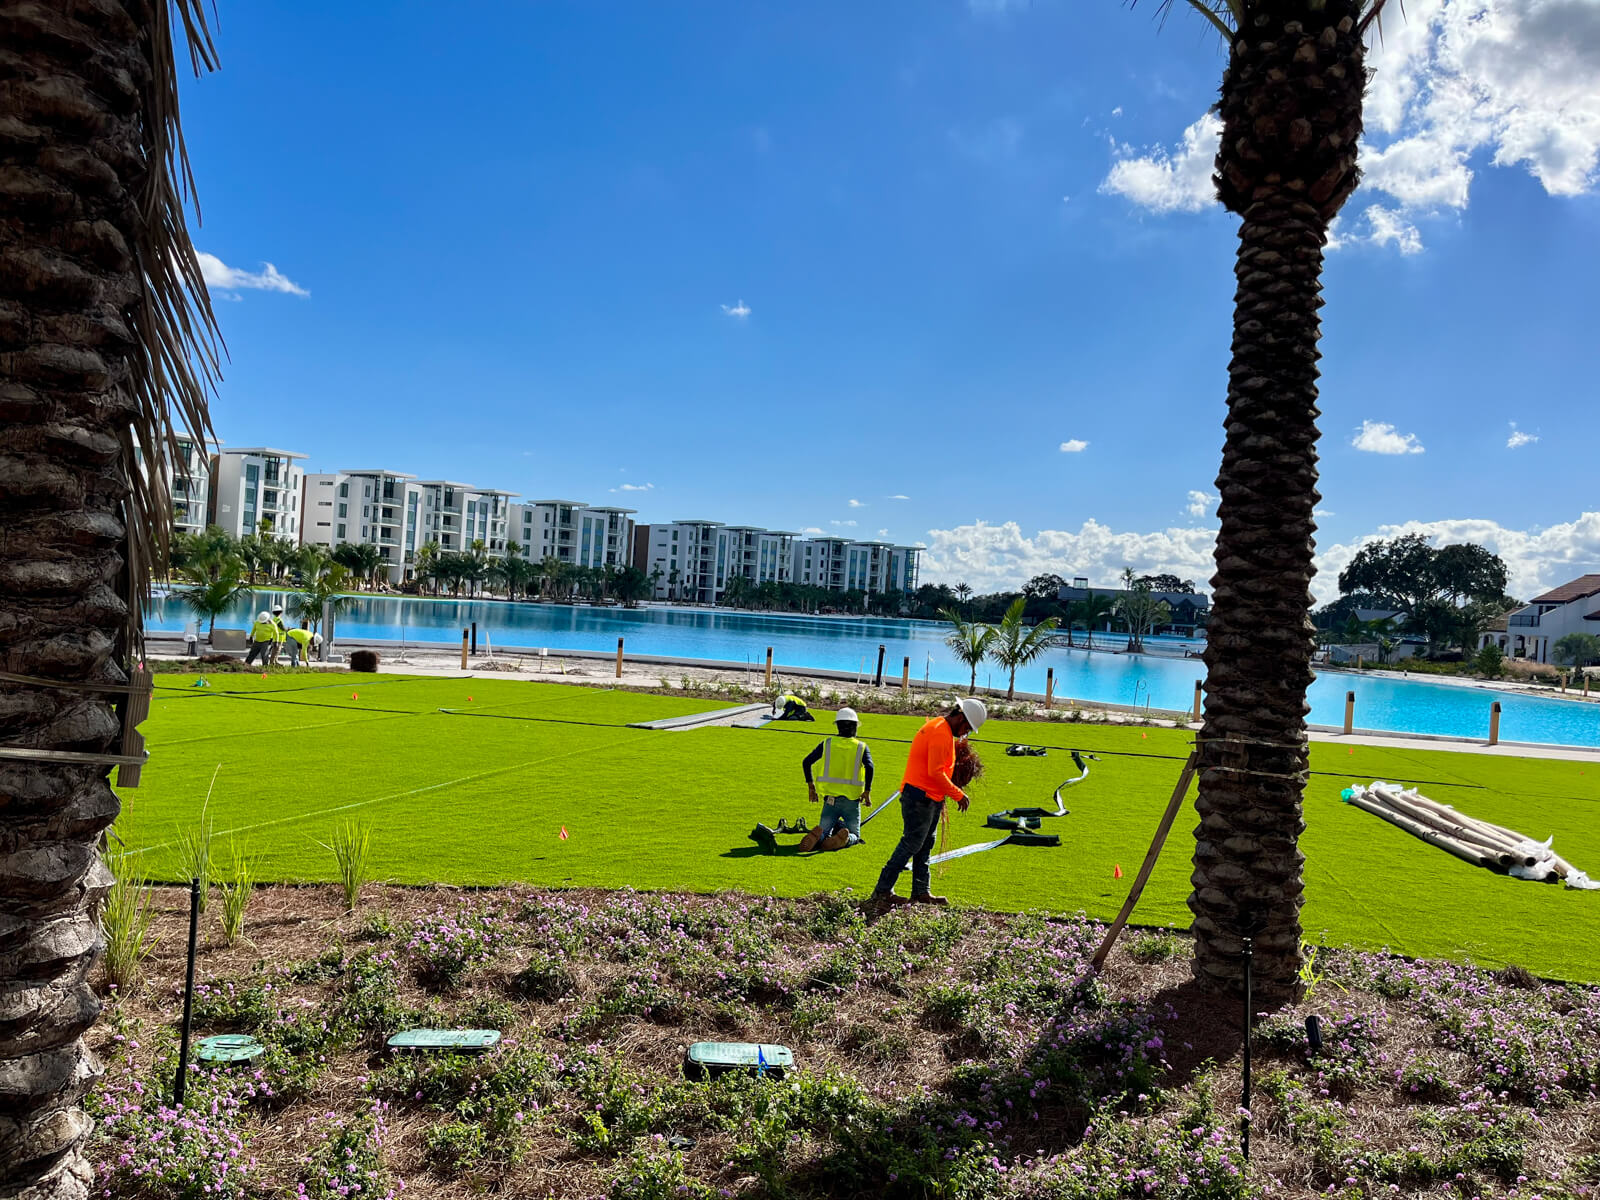
When the ground is prepared, the next thing to do is to roll the turf. At this phase of artificial turf, alignment is important. The blades must be oriented in the same direction so as to give them a constant appearance.
Installers then trim edges, secure layers, and use adhesive or nails to hold the turf in place. Paying attention to these details ensures the turf installation looks professional and seamless.
Step 4: Adding Infill
Sand or rubber granules, known as infill materials, are brushed on the turf. This action assists the blades to be erect, incorporates cushioning and enhances durability. In the case of a sports field or a commercial area, the infill is necessary to support the use of high impact.
At home, the correct infill will render artificial turf synthetic grass installation warmer to the foot and much more natural.
Step 5: Brushing and Final Touches
The final stage of turf installation is to brush the surface and to raise the blades and spread the infill evenly. Checks on the edges, tightening of layers and cleaning of the whole area are done.
At this stage, your lawn or business area is available at any time you want. It is one of the best things about artificial turf installation, not having to wait until the grass grows.
Maintenance After Installation
Turf requires a minimal amount of care, even though it is low-maintenance. Sprinkling debris, hair removal, and observance of infill quantities make your turf beautiful. The work is minimal compared to that of the natural lawns, but the outcome is always consistently beautiful.
Conclusion
Learning about how the turf is installed would ensure that the homeowners and businesses make good decisions. Planning and preparation, laying turf and infill, all count to a perfect finish.
Properly installed artificial turf synthetic grass will give you the benefit of a lawn that is green and durable, as well as easy to maintain in the long run. When you desire timeless beauty with the least amount of effort, then spending on professional turf installation would be the right way to go.
